Create Help for the User Interface of Your Application Automatically
Writing documentation for user interfaces is an essential part of work on the help file for your desktop or web application. Usually this process involves tasks such as creating and editing screenshots, and providing comprehensive descriptions for dialogs or for selective UI elements, which can be quite time-consuming.
However, HelpSmith offers a unique solution allowing you to automate most of these tasks and provide quality documentation for the user interface of your application almost automatically.
1. Capture a Window that You Want to Document
On the first step, you can take a screenshot of the window for which you want to provide documentation. While taking a screenshot, you can also enable the "Capture Controls" mode, so HelpSmith will recognize UI elements such as input boxes, buttons, etc., and prepare annotations for them automatically.
To Capture a Window with Controls:
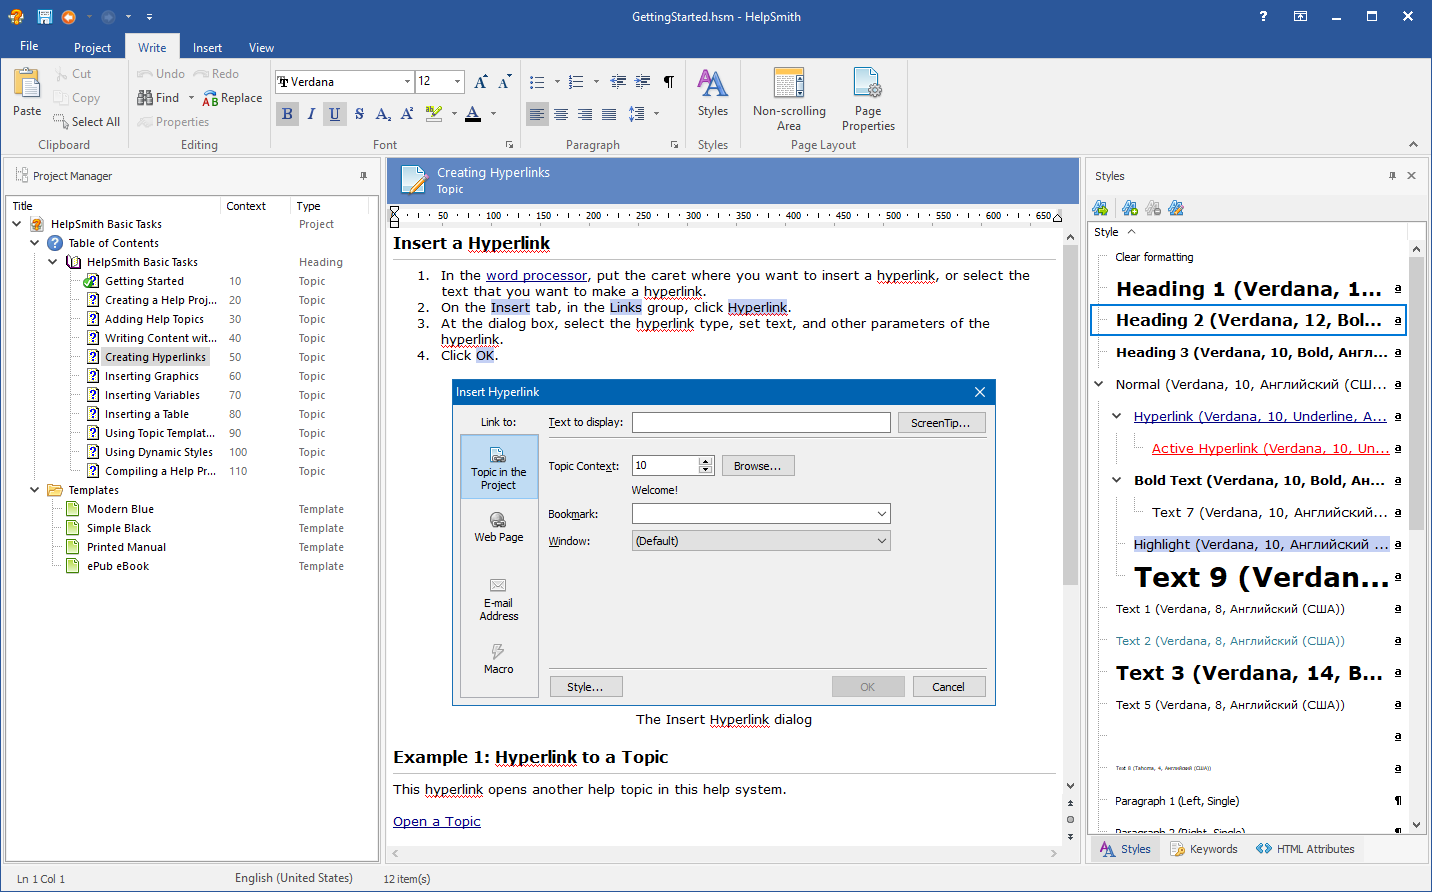
- In the built-in word processor, put the cursor where you want to insert a screenshot.
- On the Insert tab, click Create Screenshot.
- In the Image Tool, ensure the "Capture Controls" button is pressed.
- Now click the "Capture Screenshot" button and select the window that you want to capture.
- Take the screenshot by pressing Print Screen or Ctrl+Click keys on the selected window.
Please note that HelpSmith properly captures a screenshot with rounded edges, and also automatically clears, the transparent background, so you do not need to the image it in a third party graphics editor.
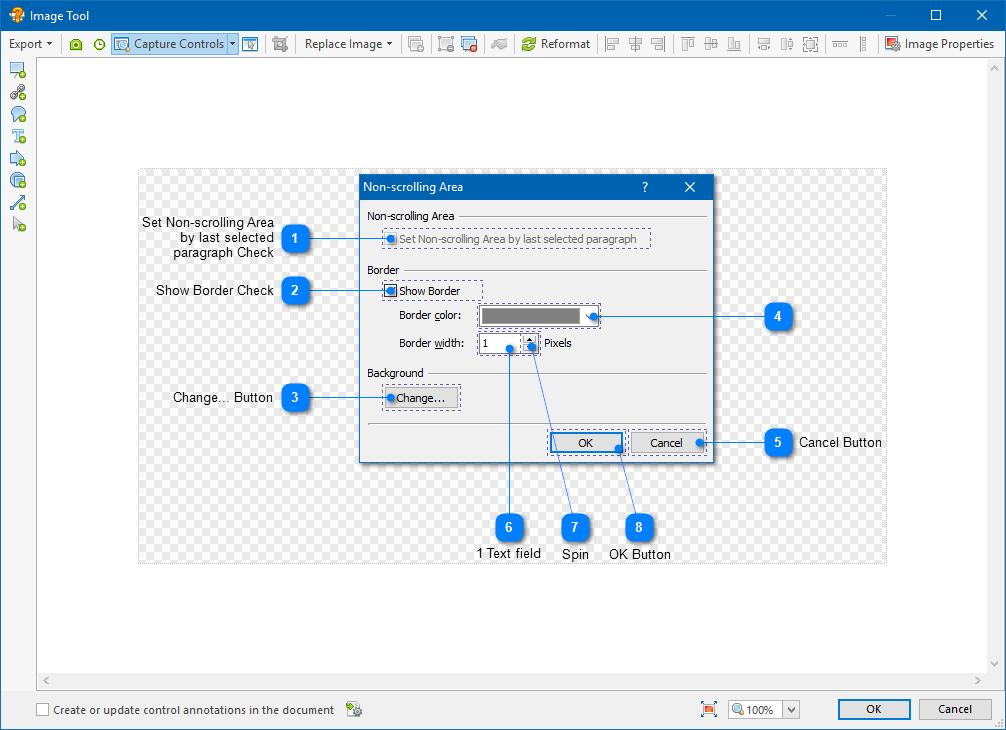
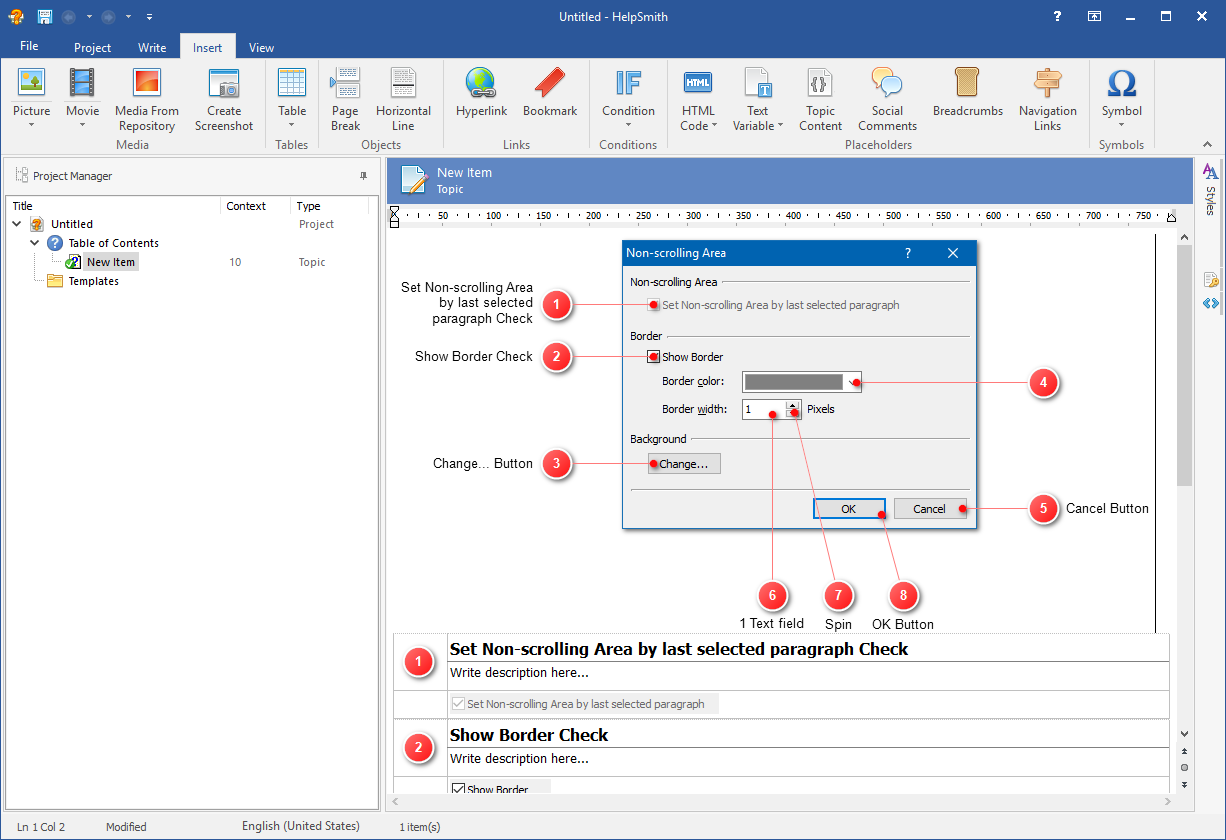
2. Add and Edit Annotations
On this step, you can add new annotations or edit existing annotations that were added for recognized UI elements. For example, you can move an annotation, or resize the area for its linked control. Also, you can edit properties of an annotation, for example, to change its title, or to set if the linked control should also be show in the help topic below the image.
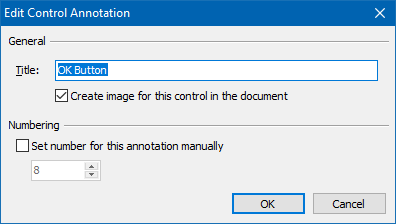
To edit properties of an annotation:
- Double-click on the annotation that you want to edit.
- In the "Edit Annotation" dialog set the title and other options according with your needs.
- Click OK.
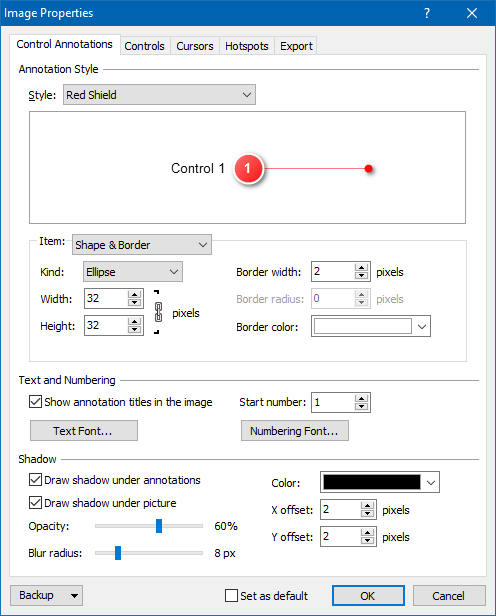
3. Customize the Style of Your Annotations
You can select an existing style, or create a custom style for your annotations.
- In the Image Tool, click Image Properties.
- In the Style box, select one of the ready-to-use style schemes.
- Click OK.
On this step, you can also customize other settings such as shadow parameters, fonts, document-related options, etc.
4. Export Annotations to the Help Topic
Now you can prepare the documentation by exporting your screenshot and annotations directly to the help topic.
- In the Image Tool, check the option "Create or update control annotations in the document".
- Click OK.
Finally, using the word-processor, you can provide a description for each of the UI element exported to the help topic.
Editing Existing Screenshots
Please note that you will be able to update your screenshot, add new annotations or edit existing ones at any time. To open an existing screenshot for editing in the Image Tool again, hover over the screenshot, and then click the Edit Image button that appears in the top-left corner.
Thus, you can see how the Image Tool in HelpSmith can help you in producing a high-quality and comprehensive help file or web help system, and to significantly save your time and effort of creating such documentation manually.