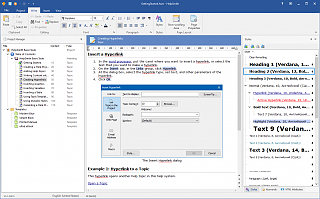
How to Create a CHM Help File, Online Help System, or PDF Manual
In this article you will learn how you can create a CHM help file, online Web Help system, or PDF manual using a help authoring tool such as HelpSmith.
1. Download and Install HelpSmith
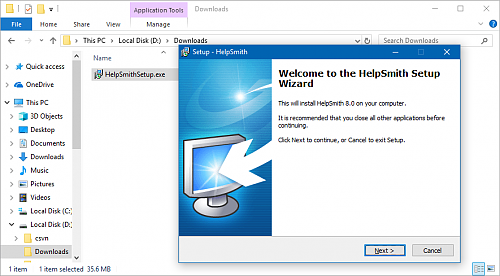
On the first step, you should download and install HelpSmith by clicking the button below.
2. Create a New Help Project
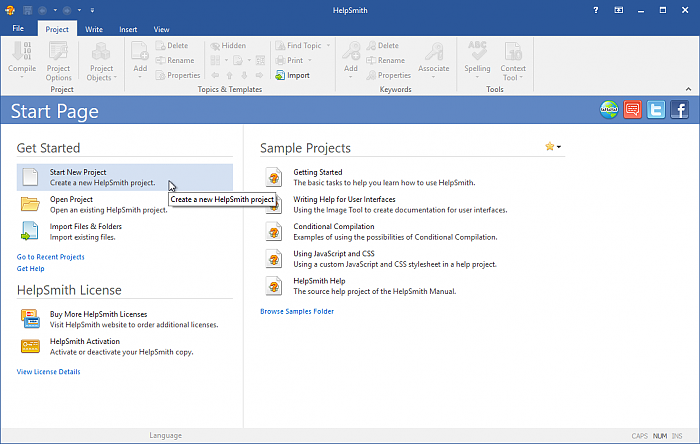
A help project in any help authoring tool is the source file of your future help system or manual, which contains the Table of Contents tree, the content of help topics, help file settings such as title, copyright notice, language, and all the rest data necessary to compile the resulting help file or document.
To create a new help project:
- Click on the File tab.
- Click the New command in the left sidebar.
3. Add Topics to the Table of Contents
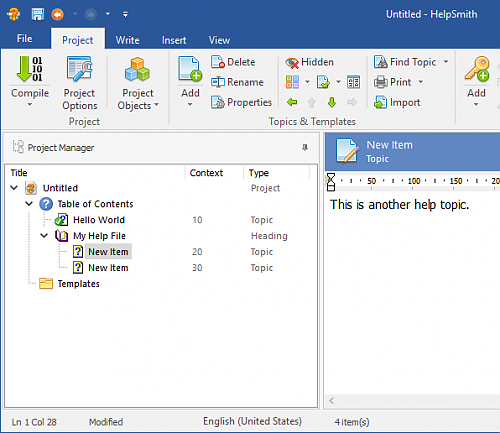
The Table of Contents (TOC) reflects the structure of your help file or PDF manual, so in HelpSmith you can add items of different types to the TOC including topics, heading items, links to external URLs, and links to existing topics within the same TOC.
Of course, you can also organize the Table of Contents by adding topics as child items of other sub-topics, or by adding topics into a common heading item. Please note that you can modify the TOC structure at any time, for example, by moving the selected items with the drag-n-drop method.
To add a new item such as a heading or topic to the TOC:
- On the Project tab, in the Topics & Templates group, click Add.
- In the New Item dialog, in the left sidebar, select the item type such as topic, heading, or URL Link that you want to add.
- Specify the item's title, and other parameters depending on the selected item type.
- Click OK.
4. Write Topic Content in the Built-in Editor
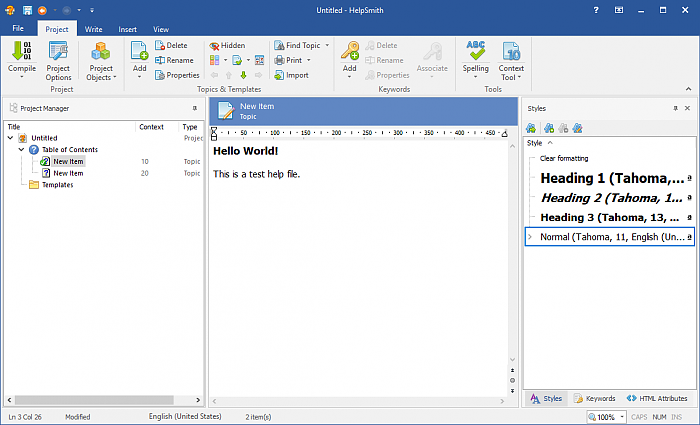
Now you can select a help topic in the Project Manager pane to edit its content directly in the built-in editor located on the right-hand side.
The built-in editor in HelpSmith is similar to a regular word processor from your office package, so you can use it to type text with different text font and alignment settings, and also to insert different objects such as images, tables, horizontal lines, hyperlinks, and bookmarks.
5. Add a Hyperlink
Hyperlinks are an important part of any help system allowing the user to go between related topics within the same help system as well as to go to a linked website or email address.
To insert a new hyperlink:
- In the built-in editor, select the text that you want to make a hyperlink.
- On the Insert tab, in the Links group, click Hyperlink.
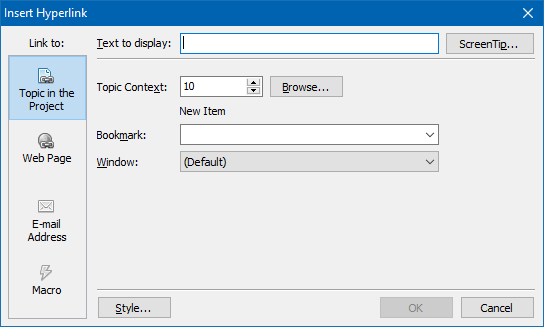
- In the Insert Hyperlink dialog, in the left sidebar, select the hyperlink type such as a link to a topic, a link to a web page, or a link to an email address.
- Depending on the selected link type, specify the hyperlink parameters. For example, for a regular topic link, you should specify to which topic the hyperlink should follow (use the Browse button to select the necessary topic).
- Click OK.
6. Create the Keyword Index
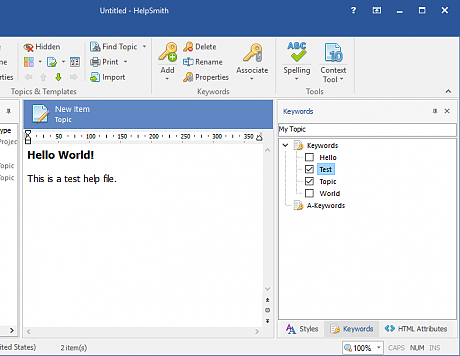
The alphabetical Index of keywords allows the user of the help file to quickly find a specific term and one or more help topics which are associated with it. Using the Keyword tool in HepSmith, you can add keywords to your help project and edit their topic associations.
To add a new keyword:
- On the View tab, click Keyword to open the Keyword tool.
- In the Keywords pane, type a new keyword.
- Press Enter to add the new keyword to the list, or press Shift+Enter to add the new keyword as a child keyword of the selected one.
To edit the list of topics linked with a specific keyword:
- In the Keywords pane, right-click on the keyword you want to edit.
- In the popup menu, click Properties.
- In the Keyword Properties dialog, check the topics that you want to be associated with the selected keyword.
- Click OK.
7. Customize Help File Settings
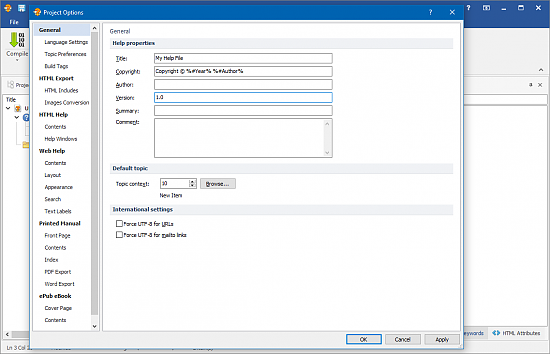
On this step, you should customize the common parameters of your help system such as title, copyright, the default help topic that you want to show when your help file is opened, language and encoding options, output directories, and other options.
To customize the options of your help project:
- On the Project tab, in the Project group, click Project Options.
- In the Project Options dialog, setup the settings according to your needs.
- Click OK.
8. Compile Your Help Project
Finally, you can compile your help project and get your CHM help file, Web Help system, or PDF document.
To compile your help project:
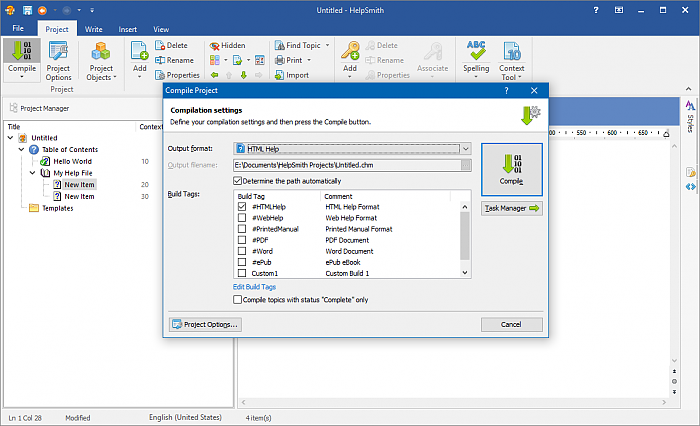
- On the Project tab, in the Project group, click Compile.
- In the Compilation Options dialog, select the output format you need.
- Click OK.
After the compilation, you will find the resulting help files in the same directory where you saved your source help project file (.HSM) or in the output directory that you pointed for a specific output help format in the project options.
You can find detailed information on any of the output help formats that you can produce with HelpSmith by visiting the links below:

