|
Writing Help Topics / Using Syntax Highlighter / Syntax Highlighting Settings |
Send comments on this topic |
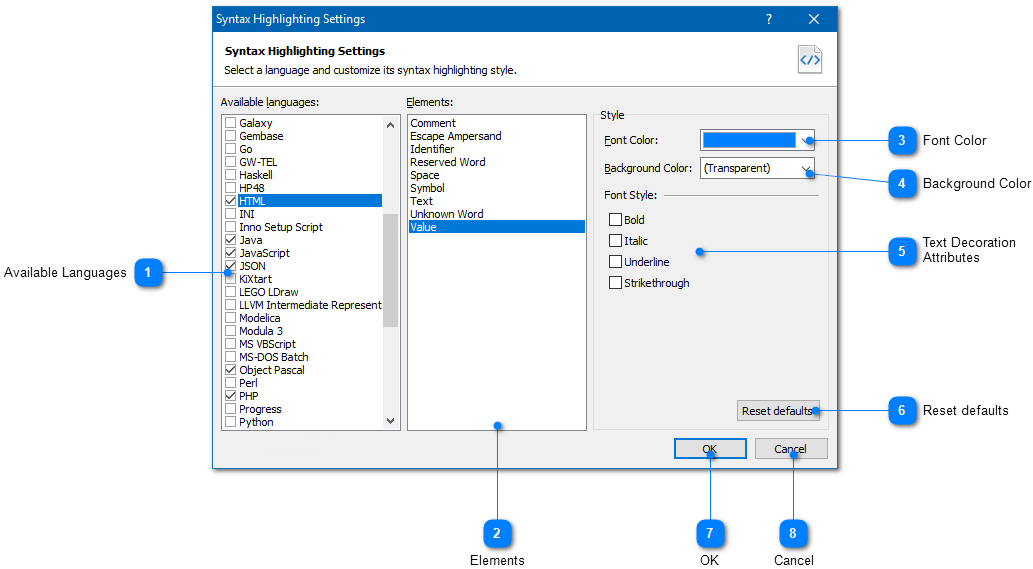
The Syntax Highlighter tool allows you to customize style schemes used for the supported programming languages, which means that you can specify the style of the elements in a specific programming language, such as reserved words, variables, comments, and so on.
Thus, you can specify the formatting attributes including font color, background color, and text decoration settings, such as bold, italic, underline, and strikethrough.
Edit Syntax Highlighting Settings
1.On the Write tab, in the Program Code group, click on the bottom part of the Syntax Highlighter button (with the arrow icon).
2.In the popup menu, click Customize.
|
Available Languages |
|
|
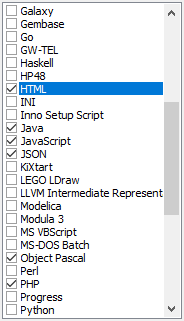
The list of supported syntax highlighting schemes for different languages and file formats. Use the checkboxes in the list to show or hide a specific language in the popup menu that appears when clicking on the bottom part of the Syntax Highlight button on the Write tab in the Ribbon. |
|
|
|
|
|
Elements |
|
|
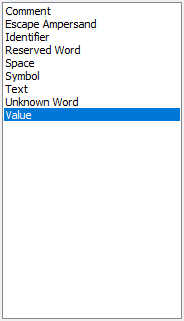
Displays the elements available for the selected programming language, such as reserved word, variable, comment, text, etc. By editing formatting settings of an element, you can specify how to format the appropriate elements found in program code. |
|
|
|
|
|
Text Decoration Attributes |
|
|
Specifies the text decoration attributes, such as Bold, Italic, Underline, Strikethrough that should be applied to the selected element. |
|
|
|
|
Related Links
•Formatting Code with Syntax Highlighter
Copyright © 2007-2025 HelpSmith.com


